Sleep is an incredibly important aspect of our lives, and quality sleep is crucial for maintaining good health. For those struggling with sleep apnea, finding the most effective and comfortable Continuous Positive Airway Pressure (CPAP) therapy is essential. That’s where we, Rockingham CPAP, come in. As your trusted sleep apnea specialist, we aim to provide you with the best solutions and guidance to support you on your journey to a restful night’s sleep.
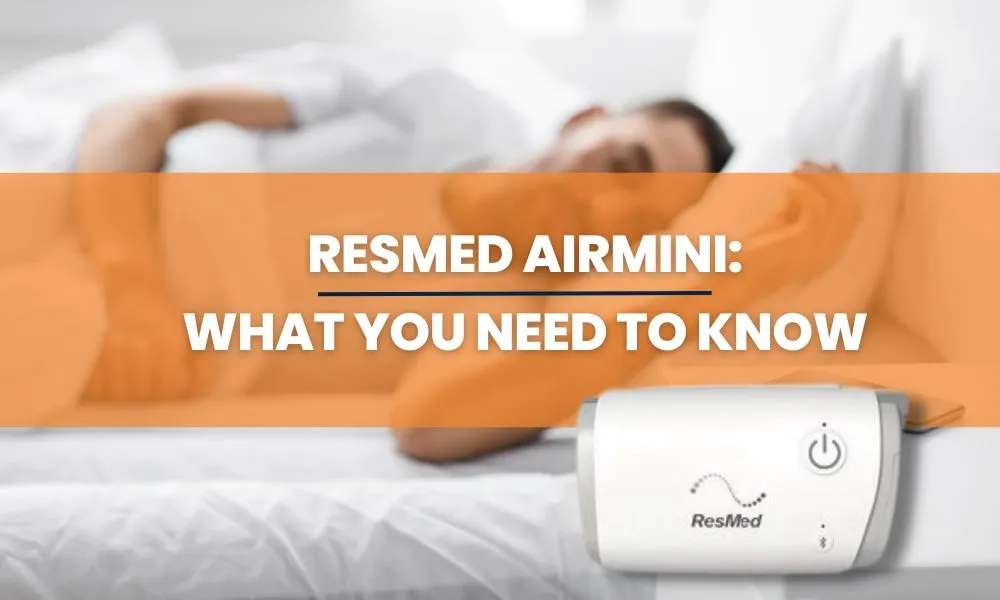
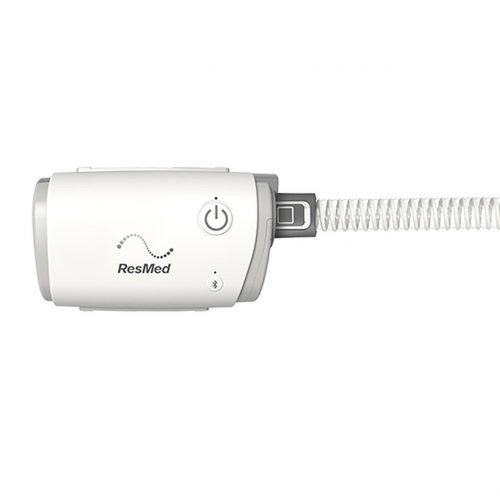
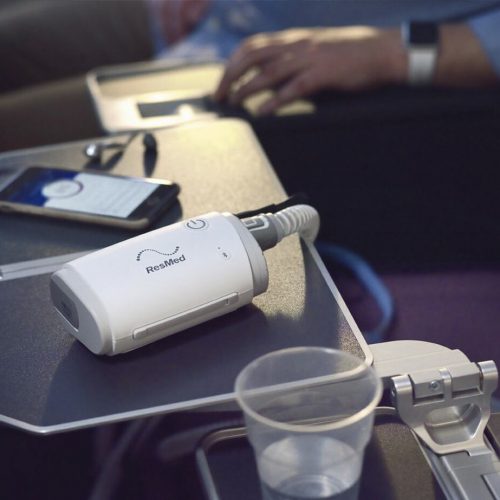
In this blog, we will delve into the remarkable ResMed AirMini – a groundbreaking compact CPAP device that has revolutionised sleep apnea treatment for countless individuals. Not only are we going to provide you with a brief overview of this cutting-edge device, but we’ll also emphasise the significance of effective setup and usage for a truly transformative sleep therapy experience.
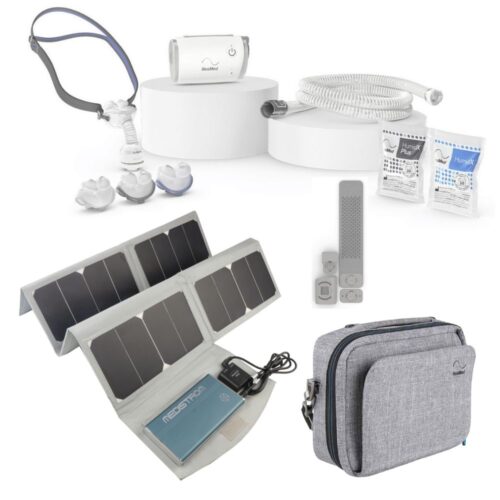
Assembling the ResMed AirMini
This process is essentially the first step to ensuring your ResMed AirMini functions optimally and can provide effective sleep therapy.
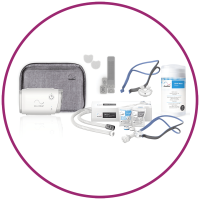
Exploring the Components
To start with, it’s essential to familiarise yourself with the primary components of the ResMed AirMini:
- CPAP device: This is the heart of your sleep therapy, the compact machine that generates the pressurised air.
- Tubing: The piece connects the device to your mask, transporting the pressurised air from the device to your airways.
- Mask adapter: Acting as a bridge, the adapter ensures that the mask fits securely with the tubing.
- Power supply: The power supply keeps your CPAP device running, ensuring uninterrupted sleep therapy through the night.
Understanding these components will ensure a smoother assembly process and provide you with a deeper understanding of your CPAP device.
Attaching the Mask Adapter to the Device
Your first step of assembly is attaching the mask adapter to your CPAP device. This process might slightly vary depending on your specific mask model; however, generally, the adapter should click into place on one end of the tubing. Make sure it’s securely fitted as it forms the connection between your masking and tubing.
Connecting the Tubing to the Mask Adapter and the Device
Once the mask adapter is in place, begin attaching the tubing. One end of the tubing connects to your mask adapter – ensuring the mask has direct access to the pressurised air – and the other end connects directly to the CPAP device. When secured correctly, this will create an air-tight pathway guiding the pressurised air from the device, through the tubing, to your mask.
Remember, assembling your ResMed AirMini correctly ensures the device performs optimally, providing you with a high-quality, uninterrupted sleep therapy experience.
Connecting the Mask
Following the assembly of your device, the next crucial step in your CPAP setup is connecting your mask. A successful sleep therapy night isn’t just about the device; it very much involves the mask you wear. After all, it directly affects your comfort levels and therapy experience.
Step-by-Step Process of Attaching the Mask to the Mask Adapter
While each mask comes with its unique design and features, the process of connecting it to the mask adapter is mostly universal. Follow these steps carefully to ensure a snug fit and comfortable night’s sleep.
1. Inspect the Mask and Mask Adapter
Before connecting, it’s important to inspect the mask and mask adapter for any debris, damage, or loose parts. Doing so will ensure optimal performance and avoid any discomfort during use.
2. Identify the Mask Connector Point
Locate the connector point on the compatible mask – typically, it will be where the mask tubing meets the cushion point of the mask. This connector point is designed to work explicitly with the AirMini mask adapter.
3. Align the Mask Connector with the Mask Adapter
Carefully align the connector point on your mask with the mask adapter attached to your ResMed AirMini. Make sure both parts are in sync before proceeding.
4. Push and Click to Connect
Gently but firmly push the mask connector into the mask adapter, ensuring that they click together securely. You should feel a snug connection, with no air leakage or gaps around the connection point.
5. Inspect and Adjust If Necessary
Once connected, give the connected mask and mask adapter a gentle tug to ensure that they are securely connected. If you notice any air leaks or loose connections, disconnect, and repeat the process until the connection is secure.
By following these simple steps, you’ll be well on your way to setting up your ResMed AirMini with the perfect mask to help improve your sleep therapy experience.
Ensuring a Secure and Comfortable Fit of the Mask
While connecting the mask to the ResMed AirMini is important, ensuring a secure and comfortable fit when you’re wearing it takes equal priority. A proper fit is essential to maintain effective air pressure, prevent mask leaks, and ensure the success of your therapy.
Steps to ensure a secure and comfortable fit:
1. Analyse The Mask Fitting Not Only Upright but Also in Your Sleeping Posture
While you might initially fit your mask while sitting or standing, remember that your face’s contours can change when you lie down. Try fitting the mask in your usual sleep position to ensure it remains secure and comfortable.
2. Adjust The Straps Carefully
The straps should be evenly and not overly tight. Over-tightening may lead to discomfort and skin irritation, while under-tightening may cause leaks. The mask should be secure, but you should be able to breathe and move freely.
3. Perform A Leak Test
Once you think your mask fits perfectly, turn on your CPAP device and perform a leak test. Feel around the edges of the mask for any escaping air. Small adjustments might be needed to optimise the fit and minimise leaking.
4. Consider Using Mask Accessories
If comfort is still a concern, consider using mask accessories, such as strap pads and liners, which can help reduce pressure points and increase comfort.
Getting the perfect fit may take trial and error and patience but is worth the effort for effective therapy. Don’t hesitate to seek professional assistance if you’re struggling to get the right fit.
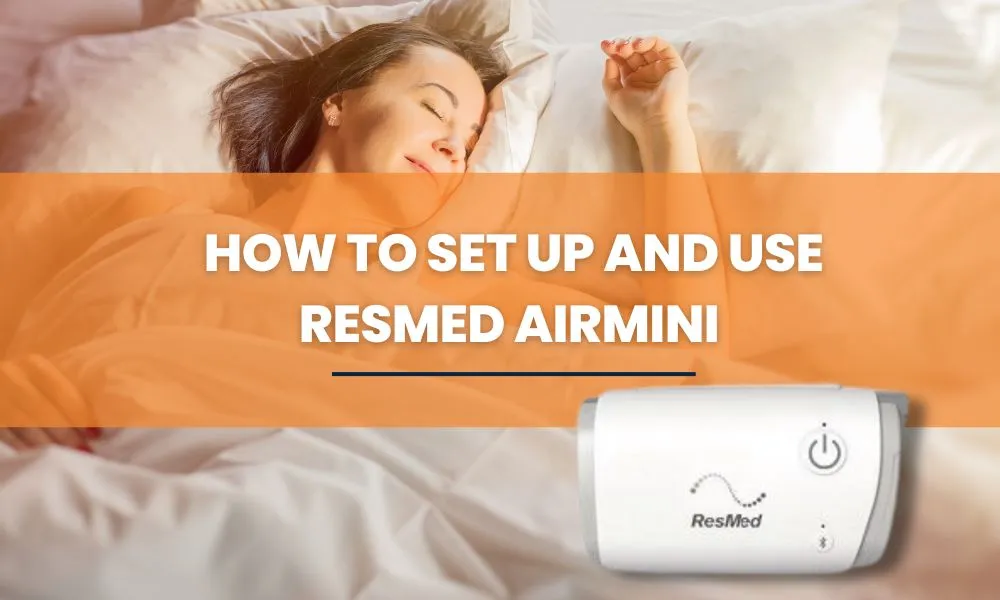
Powering On and Using the ResMed AirMini
Having connected your mask, it’s finally time to power on and use the ResMed AirMini for your first CPAP therapy session. Here, we’ll walk you through the necessary steps and considerations, from navigating the device’s menu to setting up the device’s settings, to starting your therapy session and adjusting the pressure settings, as necessary. Remember, comfort and ease of use are crucial in CPAP therapy sessions, so understanding these steps well is crucial.
Turning On the Device and Navigating the Menu
Turning on the ResMed AirMini machine and navigating its menu is a straightforward process:
- Power On: Connect the device with its appropriate power adapter to an outlet, then press the power button. You should see a green light indicating that the device is powered on.
- Accessing the Menu: Most of your device’s options and settings will be accessible via the AirMini app on your smartphone, which allows you to adjust settings and read your sleep data when paired to your device via Bluetooth.
Setting Up the Device’s Settings (this is where Rockingham CPAP will help)
To set up the device’s settings, you’ll primarily use the ResMed AirMini app on your smartphone:
- Download the AirMini app: The AirMini app is available on both iOS and Android platforms. Use your phone to download the application from Apple’s App Store or Google Play Store.
- Pair Your Device: Once you’ve installed the AirMini app, you need to pair your AirMini device with your smartphone via Bluetooth. On the home screen of the app, select “Add New Device” and follow the prompts to pair.
- Adjust Device Settings: Within the app, our Rockingham CPAP technicians will access the clinical settings that control the device’s Air pressure, humidification levels, and SmartStart. SmartStart allows the device to start automatically when you breathe into the mask.
Accurate device settings are essential as they ensure the therapy is tailored specifically to your needs.
Starting Therapy and Adjusting the Pressure Settings (if necessary)
Once you have the device set up and tailored to your needs, you can start sleep therapy:
- Starting Therapy: Place the mask properly on your face, ensuring a secure and comfortable fit, and then press the ‘Start’ button on either device or the AirMini app, and the treatment will begin.
- Adjusting the Pressure Settings: If your healthcare provider or one of our sleep technicians has prescribed a particular air pressure setting, we will set this up on the device using the AirMini app. Note that most AirMinis come with AutoSet mode, automatically calibrating the air pressure to suit your needs throughout the night, but we still need to provide the pressure channel within which this mode operates.
Remember, don’t adjust the settings without discussing it with your healthcare provider or one of our sleep technicians. It is always important to consult with professionals about changes in your sleep therapy.
Using the ResMed AirMini is simple and user-friendly, enabling you to take control of your sleep therapy. Always consult Rockingham CPAP for specific instructions and advice regarding the settings adjustment and the usefulness of sleep therapy.
Using the AirMini App
The AirMini app is a valuable resource for managing and optimising your sleep therapy. It enables you to control your machine’s settings, analyse your sleep data, and offers personalised therapy guidance based on your individual needs. Being a user-friendly interface, it serves as a bridge between you and your ResMed AirMini device to ensure optimal therapy effectiveness.
Downloading and Installing the App
Downloading and installing the app is a straightforward process. Here is the process:
- Access App Store: Depending on your smartphone’s operating system, go to the Google Play Store (for Android system) or App Store (for iOS system).
- Search for the App: Type “AirMini by ResMed” into the search bar, and the app should appear as the first result.
- Install the App: Click on “Install” (on Android) or “Get” (on iOS) to download and install the app onto your device.
Connecting the Device to the App via Bluetooth
Once installed, you will need to pair your AirMini device with the application. To do this:
- Enable Bluetooth: Ensure that Bluetooth is enabled on your smartphone, providing the necessary communication channel between the device and the app.
- Pair with the App: Open the AirMini App and choose “Add New Device” from the opening screen. Follow the prompts to pair your AirMini machine to your phone via Bluetooth.
Exploring the Features of the App (Therapy Tracking, Data Analysis, Settings)
The AirMini App offers various features designed to streamline and enhance your sleep therapy experience:
- Therapy Tracking: The app allows you to check and monitor your therapy score each day. You can track aspects like hours of sleep, mask seal quality, and how many events you had per hour of sleep.
- Data Analysis: Besides tracking your daily scores, the app also provides a 30-day history of your sleep therapy data, enabling you to evaluate your sleep patterns and progress over time.
- Settings Adjustment: The app enables you to adjust various settings of your AirMini device directly from your phone, making it easier to manage your therapy. Settings include adjusting pressure levels, enabling and disabling SmartStart, and turning on or off the ramp feature. Note, adjustment of some of these settings will require assistance from a Rockingham CPAP sleep technician.
The AirMini app makes it possible for you to actively participate in and improve your CPAP therapy. By using this tool, you can better understand your therapy progress and ensure comfortable and effective sleep therapy.
Choose the Best for Your Sleep – Choose Rockingham CPAP!
In the pursuit of restful sleep and better health, the choice of your sleep therapy provider matters. We, at Rockingham CPAP, are committed to providing superior sleep solutions and support on every step of your therapy journey.
Why settle for less when you deserve the best? Choose us and let us guide you to the healthy, revitalising sleep you’ve been longing for. You’re not just choosing a CPAP provider; you’re choosing a partner dedicated to your well-being and sleep health. Contact us now and start your journey towards restful nights and energetic days!